
|
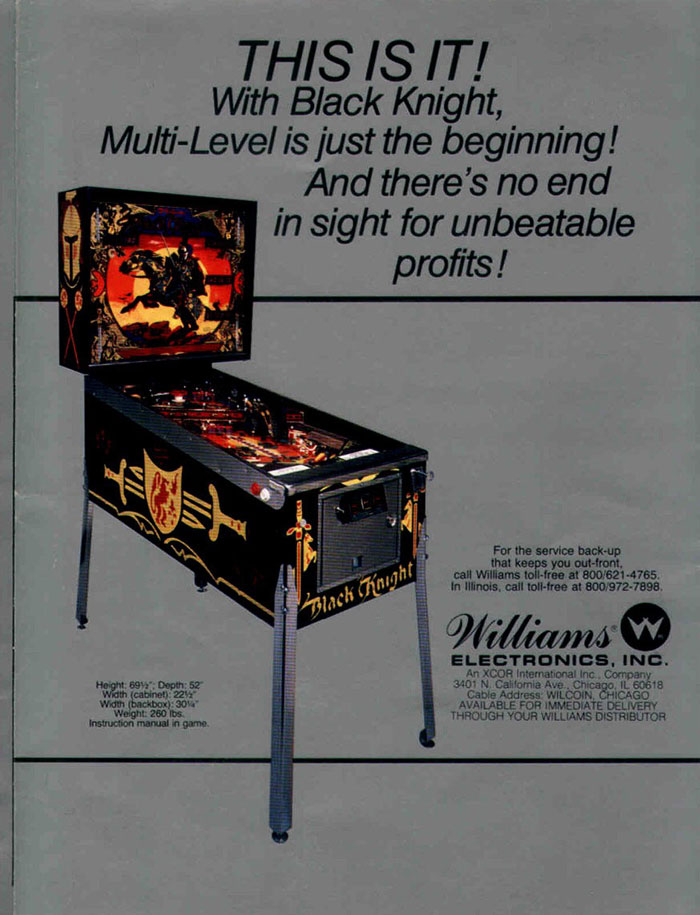
I bought my Black Knight from John
Graves in August of 2004 as part of a package deal when I also bought his Banzai Run and
Doctor Who. Nice classic game to own that will keep you entertained for
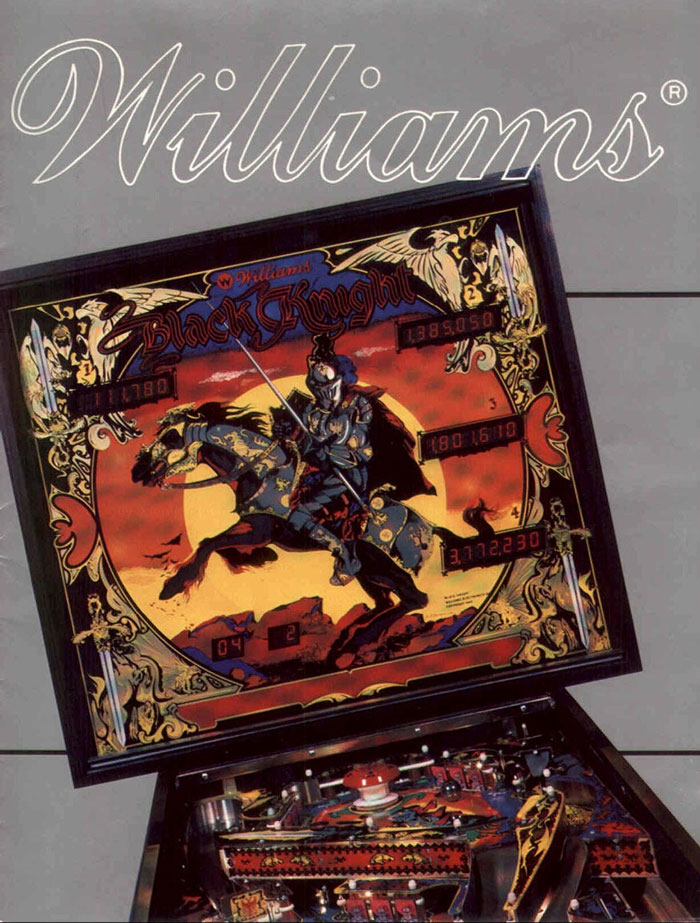
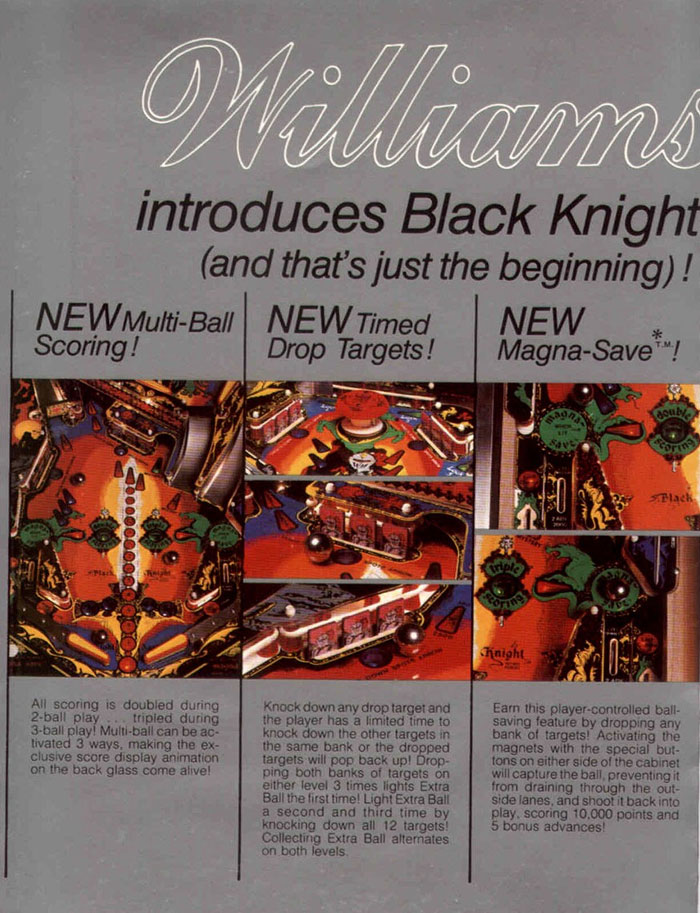
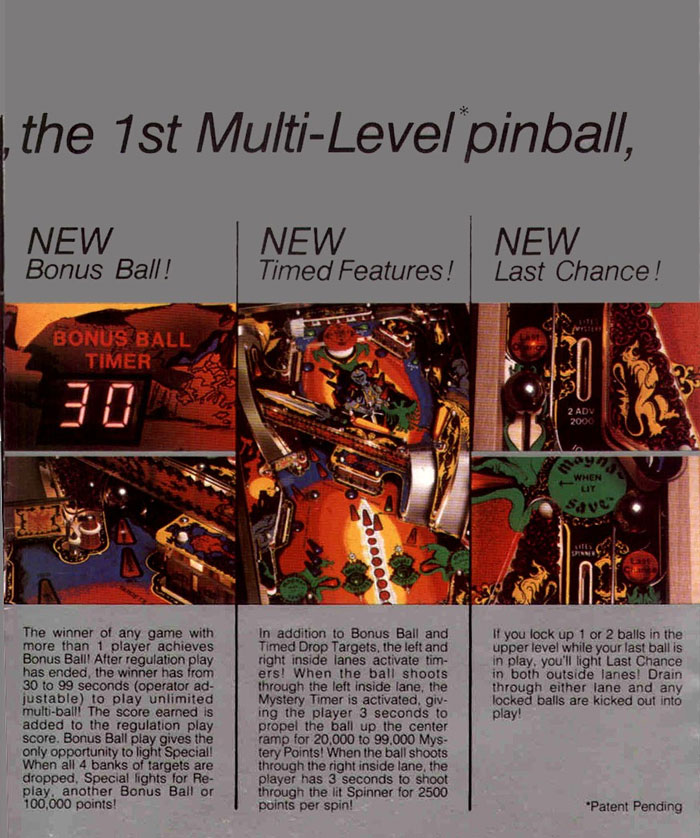
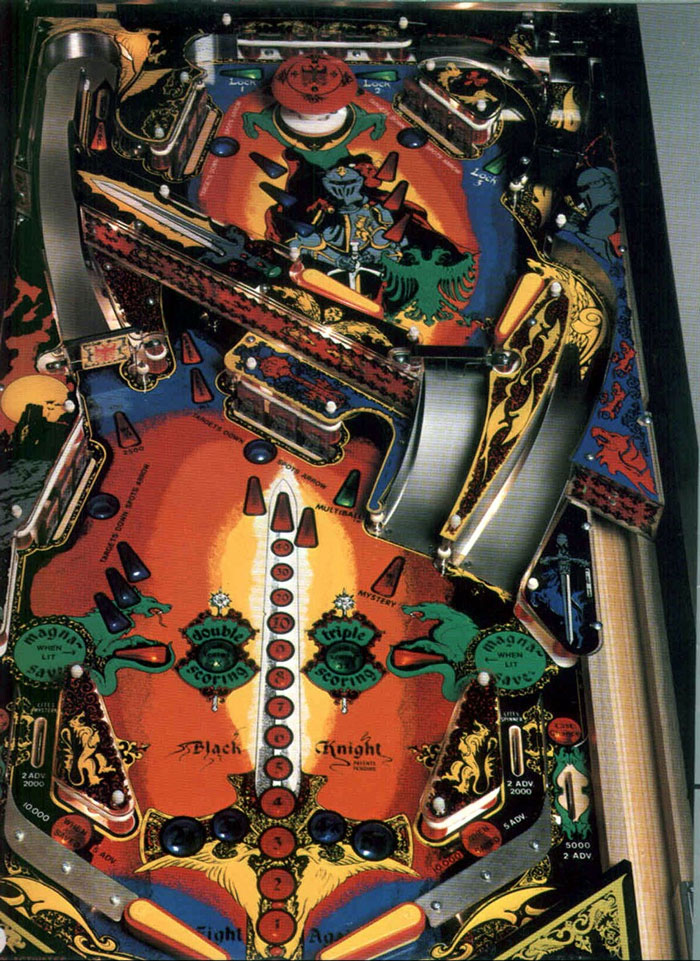
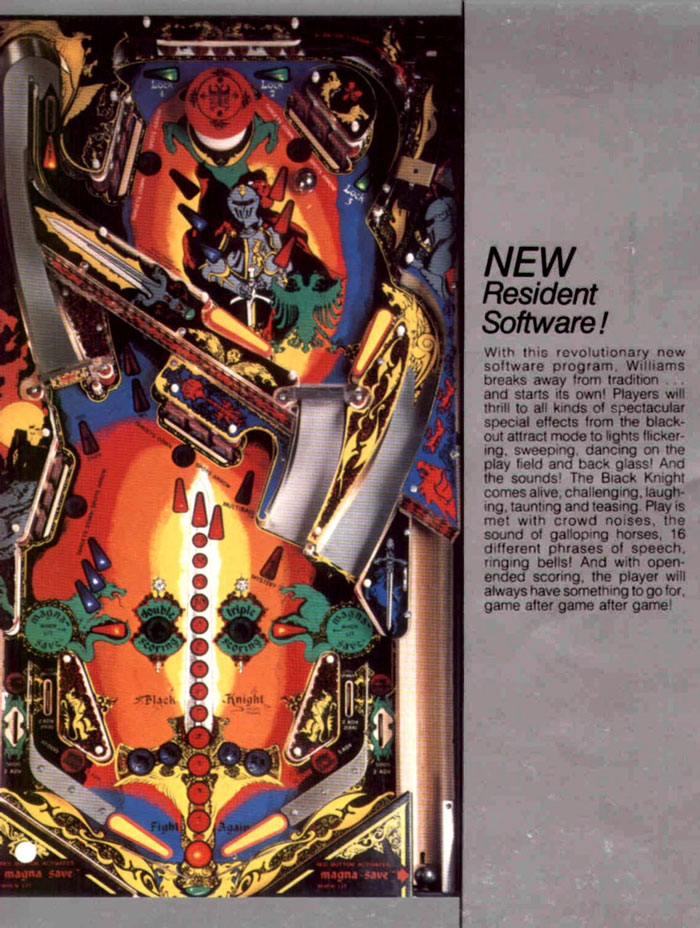
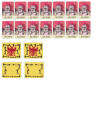
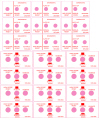
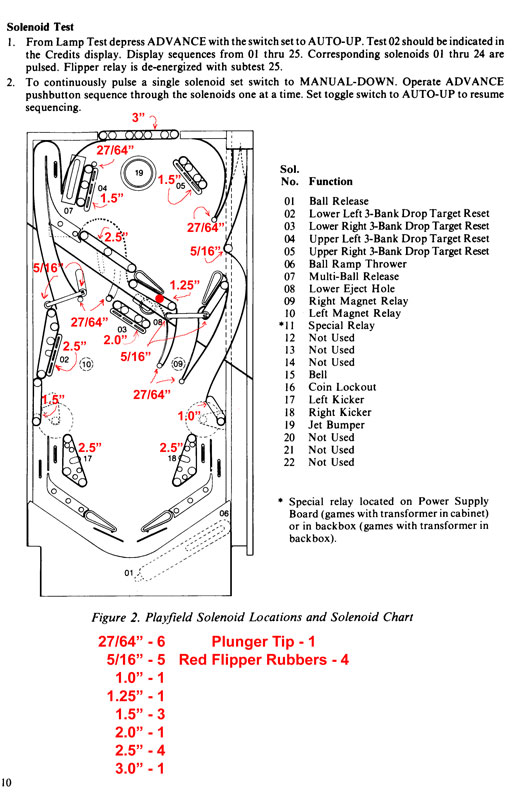
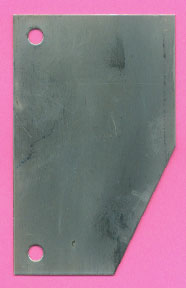
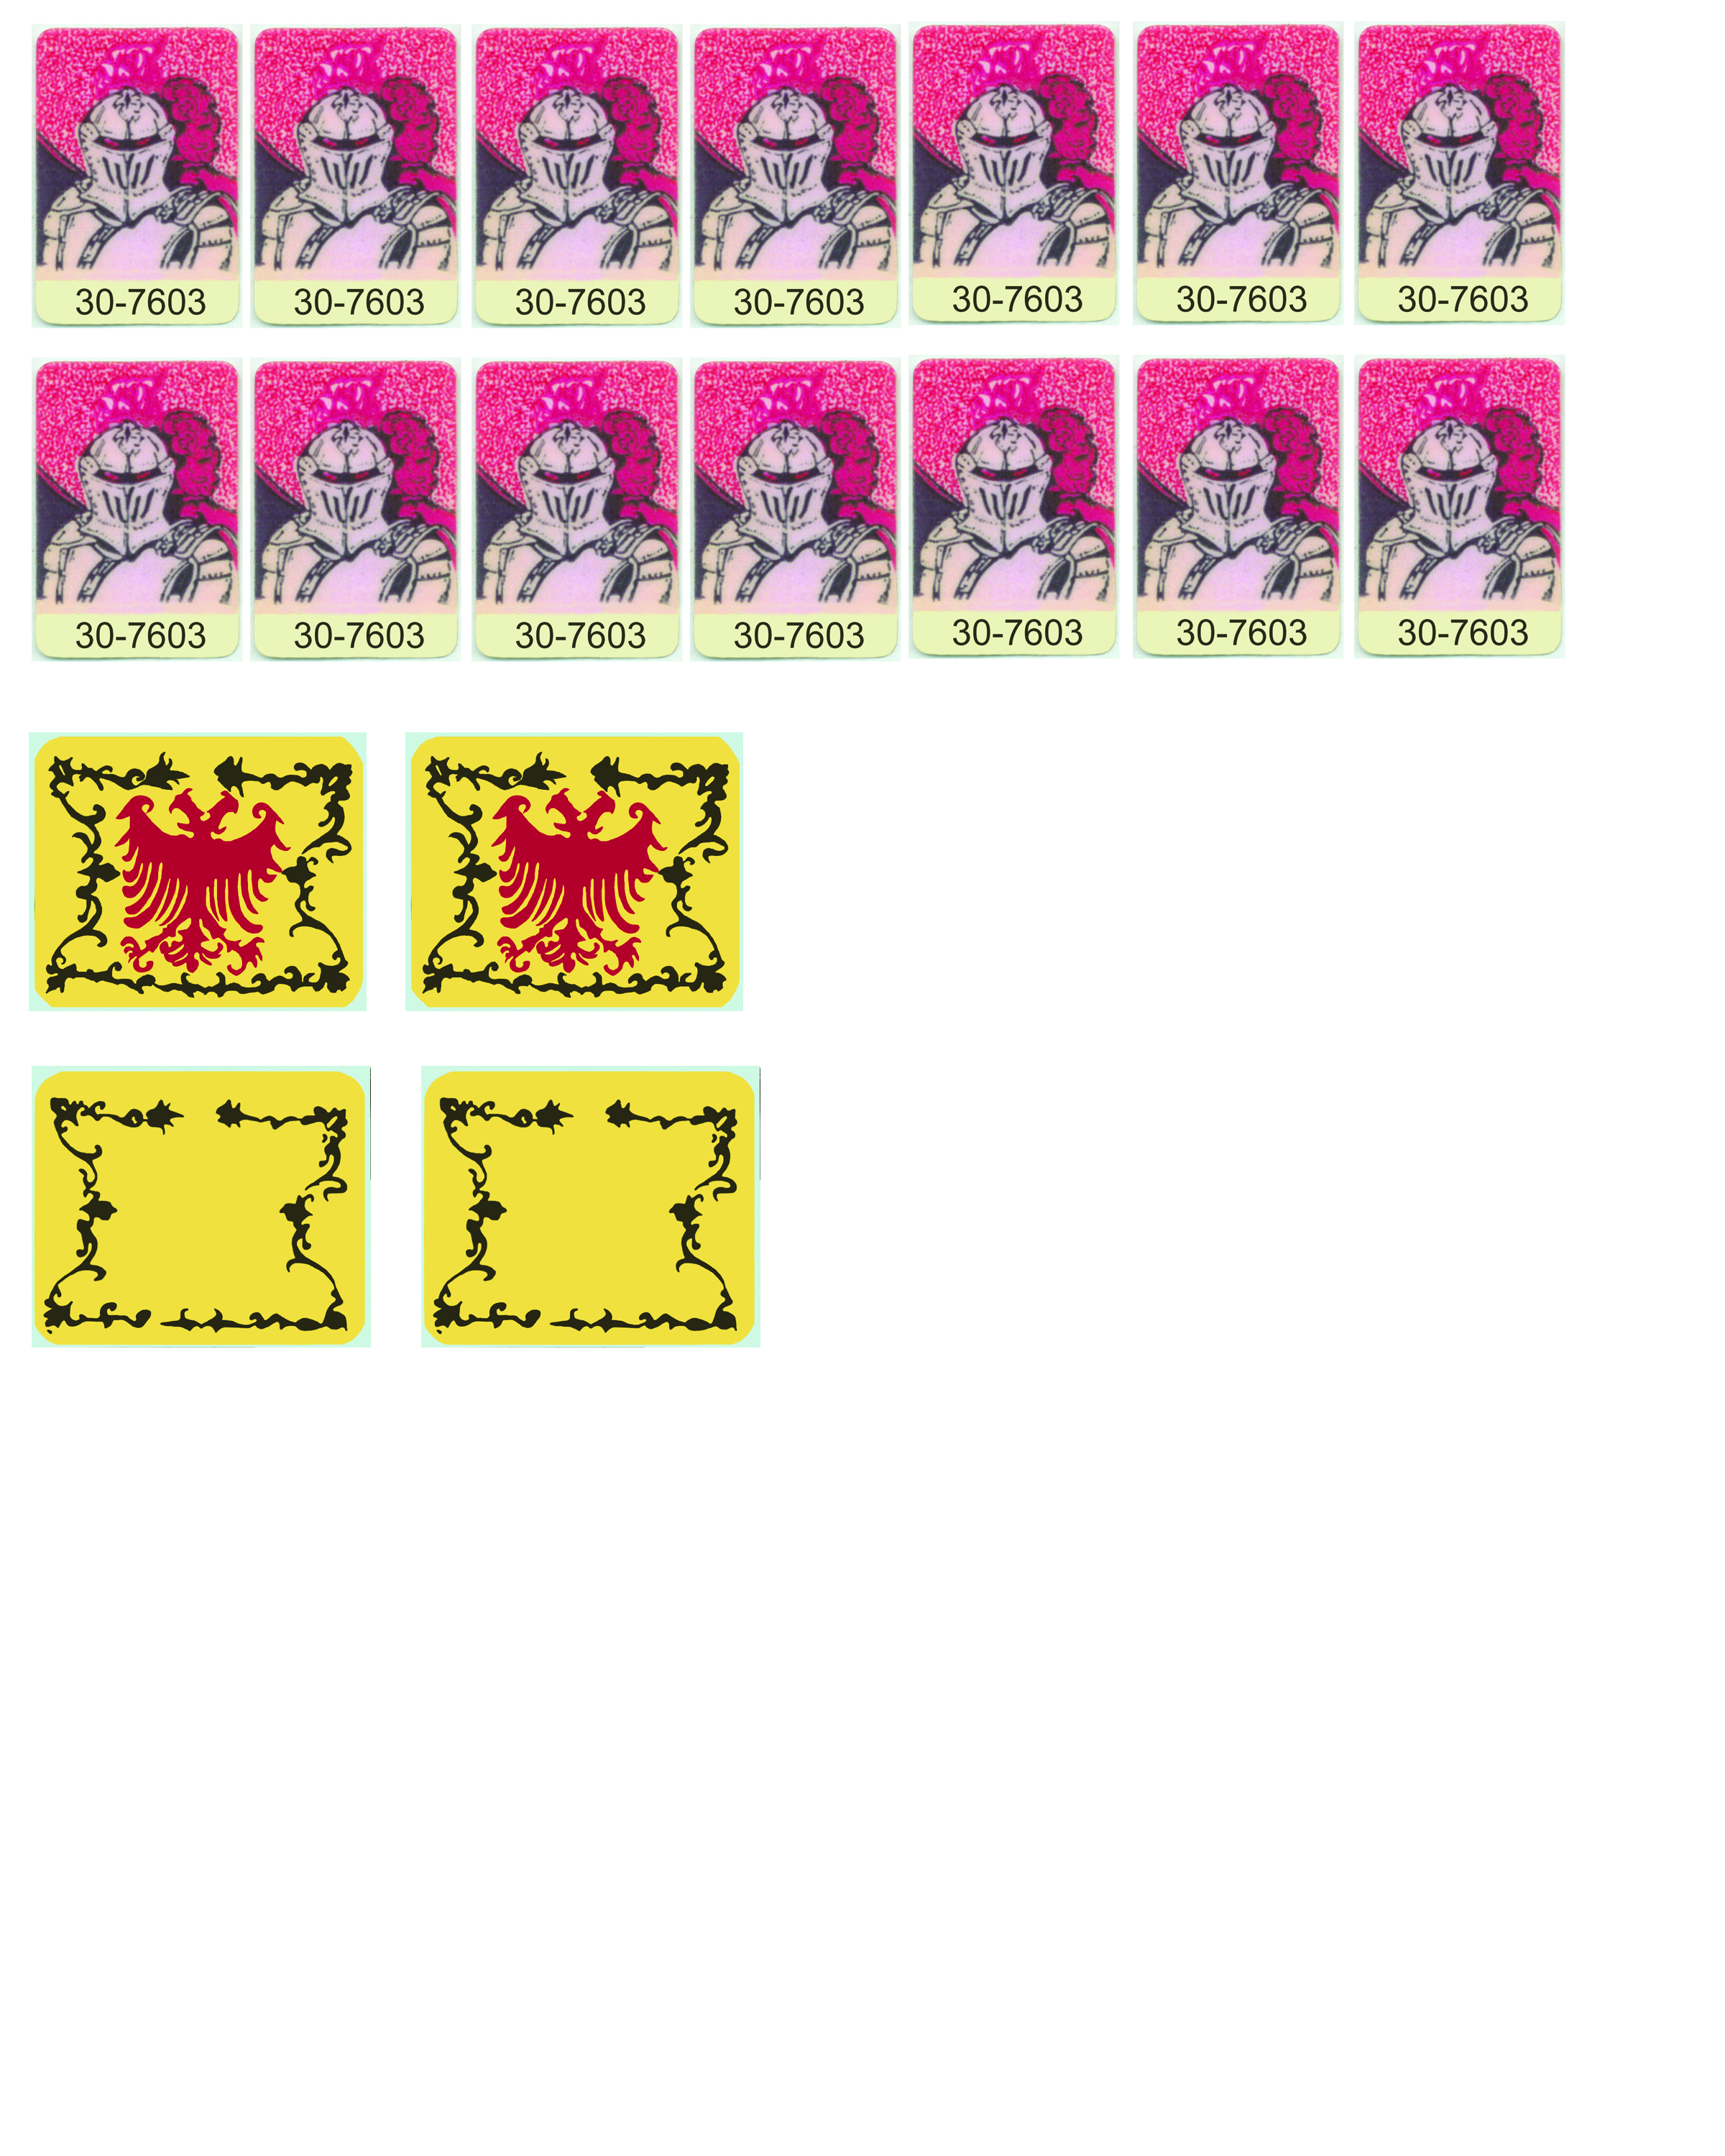
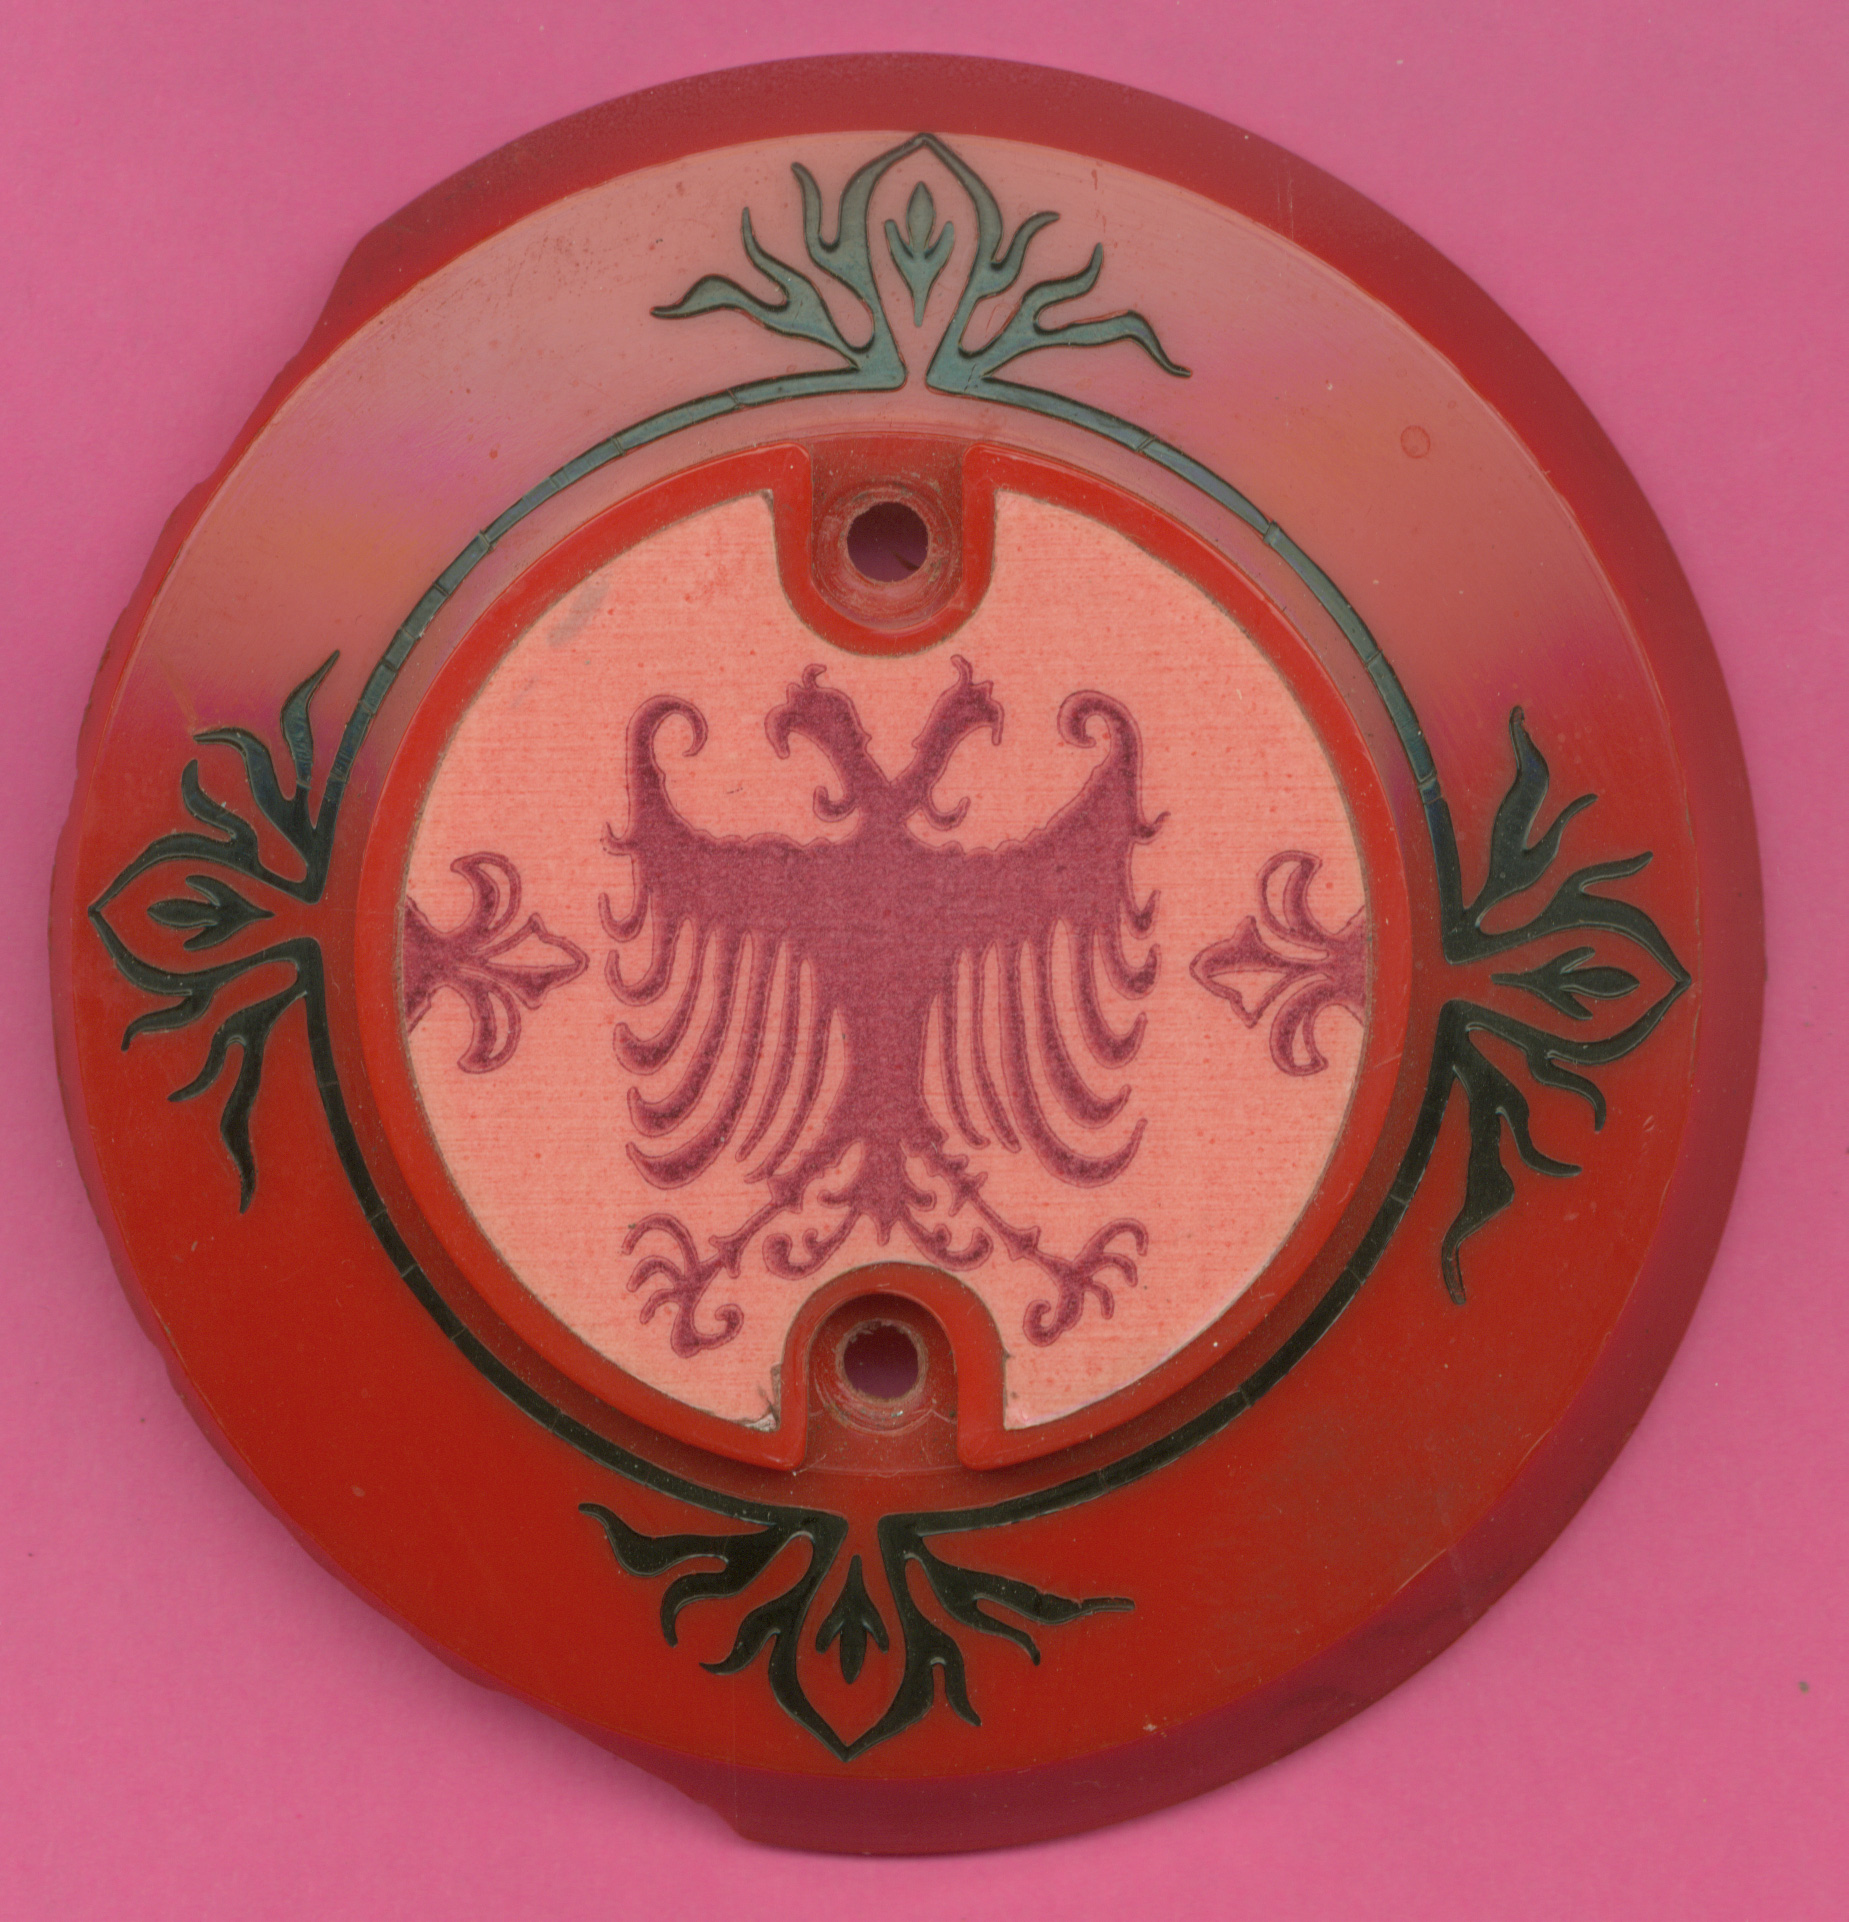
years to come. Williams released Black Knight in November of 1980 and produced 13,075 units (that's a lot of games). It's a System 7 game and features a split-level playfield with 4 flippers (two on the lower playfield, two on the upper playfield), four 3-bank drop targets, 2 kick-out holes, one rollunder spinner, a "magna-save" on both inlanes (actuated by pressing a button in front of the flipper button on each side of the cabinet), 3 ramps, a left horseshoe lane, bonus ball, and a 2 or 3 ball multiball. The game was designed by Steve Richie with artwork by Tony Ramunni and software by Larry DeMar. Black Knight was the first game with a magna-save feature that will grab the ball and hold it for several seconds to keep it from draining via the outlane. Black Knight was also the first game to have faceted inserts in the playfield to give it a "jewel look" and the first game to have a split-level playfield and a bonus ball concept that would allow the player with the highest score to play for an additional timeframe after the game ended (the additional scores made during the extended time is added to their score). Create DecalsDid you know you can print your own target and spinner decals and then laminate them with a clear sheet of plastic laminate? My decals weren't so great on the Black Knight so I decided to create my own. I use a cold-press laminator to laminate the sheet after printing on a white vinyl backed permanent adhesive sheet I buy from mediastreet.com. Media Street started selling the material by the roll, so you may want to check out Papilio.com for their materials. The decals come out looking just like the originals. I use a sheet of JM clear laminate that can usually be found at Walmart or various supply stores. If you'd like to see how this process works, or would like to create your own decals, visit my page for creating decals. Right click HERE and select "Save As" or "Save Target As" to download an entire 300 dpi sheet of Black Knight target and spinner decals that will fit on an 8.5 X 11.0 inch sheet. Note that the file size is about 4 meg due to the 300 dpi resolution. The decal sheet is intended for Pinball hobbyists but should NOT be used for selling decals. I include more than enough target decals as well as two each of the front and back spinner decals. Thanks to Doug Grant for scanning his spinner decals so I could create them. Coin Door Service Switch DecalsI've also created a sheet of two kinds of coin door service switch decals that can be used to replace the faded, torn, or missing decal. The service switches are located on the inside of the coin door where you should notice a couple of push-button switches with a decal describing their usage (unless like many games, it's missing or so faded you can't read it). The decal sheet I've created contains multiple decals since printing a white vinyl sheet isn't cheap. Right click HERE and select "Save As" or "Save Target As" to download the 4 meg Jpeg file. I print mine using either a color laser or inkjet printer and then put a clear laminate over them to protect them. Just cut around the outer edge where the white meets a faint pink border using scissors. I cut out the 3 holes for the buttons using either a hole punch or Exact knife. After removing the 2 screws that hold the button assembly to the metal bracket and then lowering the 3 buttons out of the way, I line up the decal and stick it to the metal bracket where the switches are mounted. I use an Exacto knife to remove any excess around the outer edges or the inside diameter of the holes in the metal bracket. Note that my decal sheet contains two kinds of decals. Black Knight uses two screws to hold the switches mounted to a switch plate in place whereas other Williams games of this era don't use the screws. Instead, they use lock washers and small nuts for each of the three switches to hold the switches in place on a switch plate. Ring Placement ChartAnother problem I ran in to was a missing ring chart. You'd think that there would be a ring chart for where rubber rings go, but I couldn't find any and have heard that the info was not supplied by Williams. When shopping my game I decided to note where the various rings go and used the Black Knight "Instruction Book" solenoid page to add the ring info. Click HERE to view the solenoid/ring page with my annotations. You could also right-click the link and choose the "Save Target As" link to save the page to your local hard drive (the file size is around 900K). Just print it out and use it again and again. Well, I guess that depends on how many times you plan to shop your game. Scroll down towards the end of the pictures below and you'll also see it listed for viewing. Please let me know if you find an error in the diagram. These were based on notes that I took when shopping and I suppose I could have made a mistake. Pop Bumper Cap ScanIt's hard to find the correct pop bumper caps anymore for a Black Knight. Although I haven't made a decal for the center section of the pop bumper cap yet, I've provided a 600 dpi scan of a broken, but original, pop bumper cap in jpeg format for those that would like to beat me to it. I also have the scan in a psd (Photoshop) format if someone wants it (it's 10 meg in size). Right click HERE and select "Save As" or "Save Target As" to download the 900K file of the pop bumper cap scan. Why would you want such a large file size image of a pop bumper cap scan? So that you can use Photoshop to edit the center decal and create your own. That's why the image is at 600dpi which is quite good for editing in Photoshop. Note that although you may be able to find the decal for the center of the pop bumper cap for sale, the original cap had an etched surface that was colored black around the edges of the pop bumper cap and the center decal was colored differently. You will see what I mean when you review the pop bumper cap jpeg file and compare it to what's out there on the market today. Hans has also done a nice job of creating clear water slide decals for Black Knight's pop bumper cap using plain red pop bumper caps. You can find Hans' write-up HERE. He shows more than just creating the pop bumper cap decals, so cruise around his site to learn more about his work. (click any picture to enlarge)
|

