|
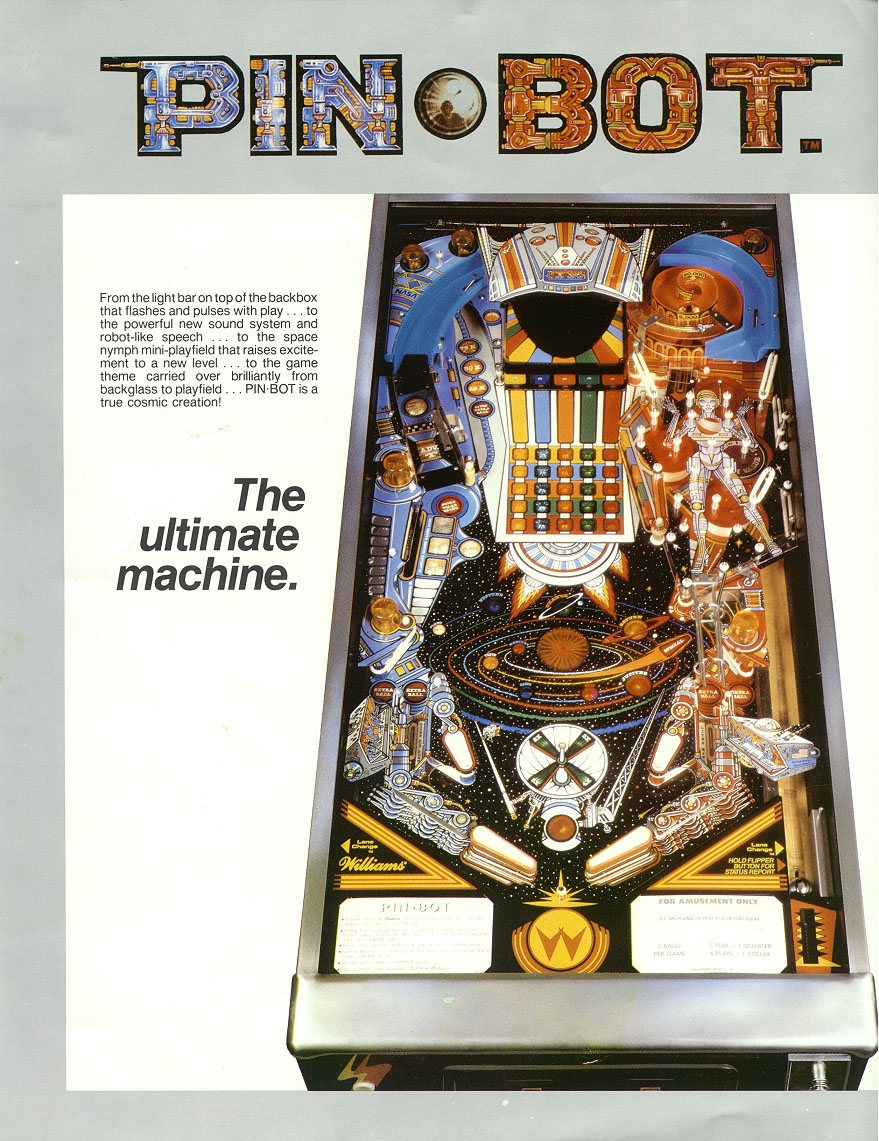
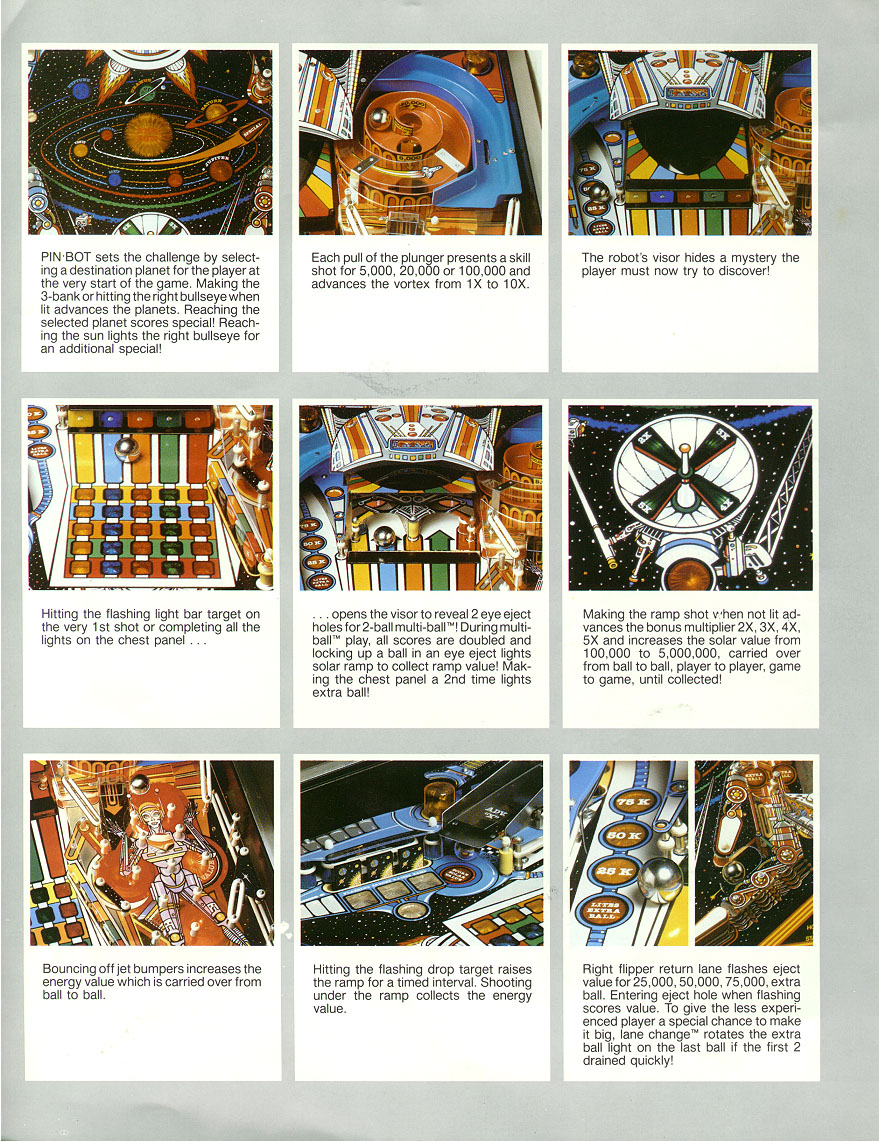
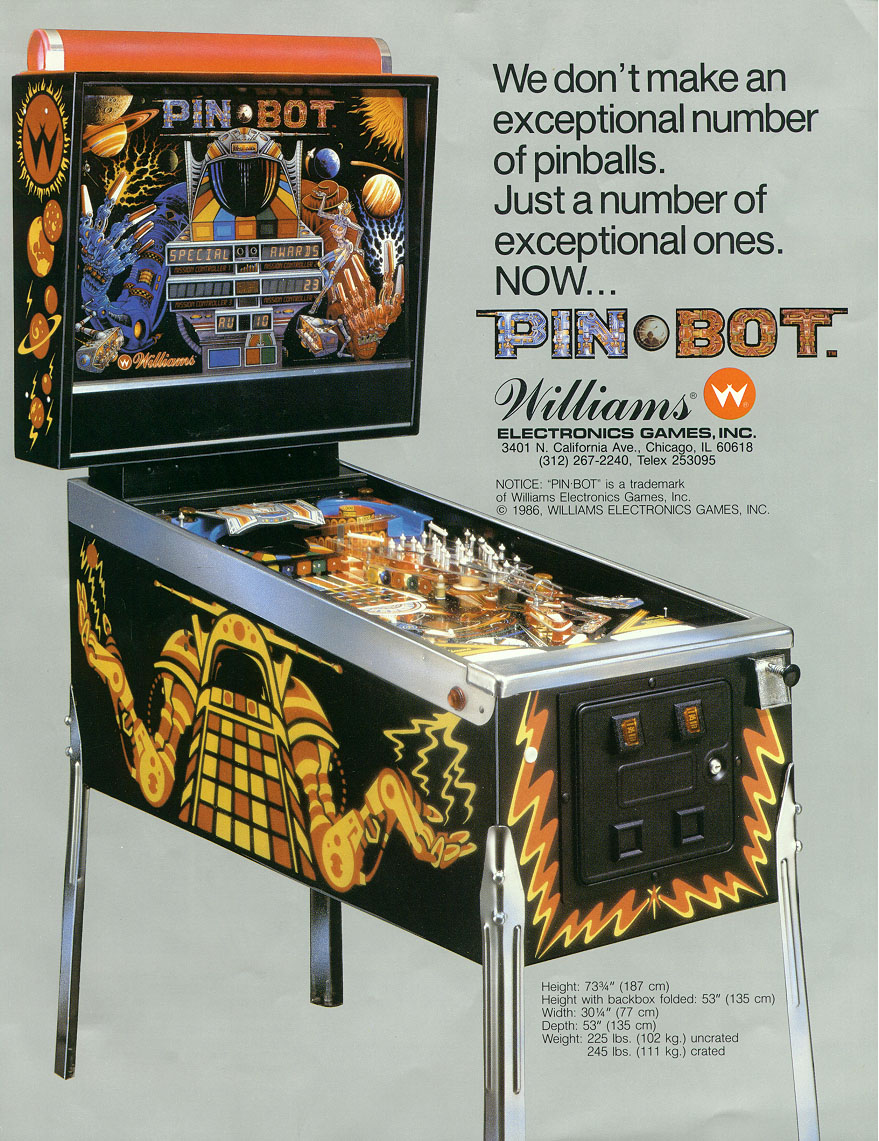
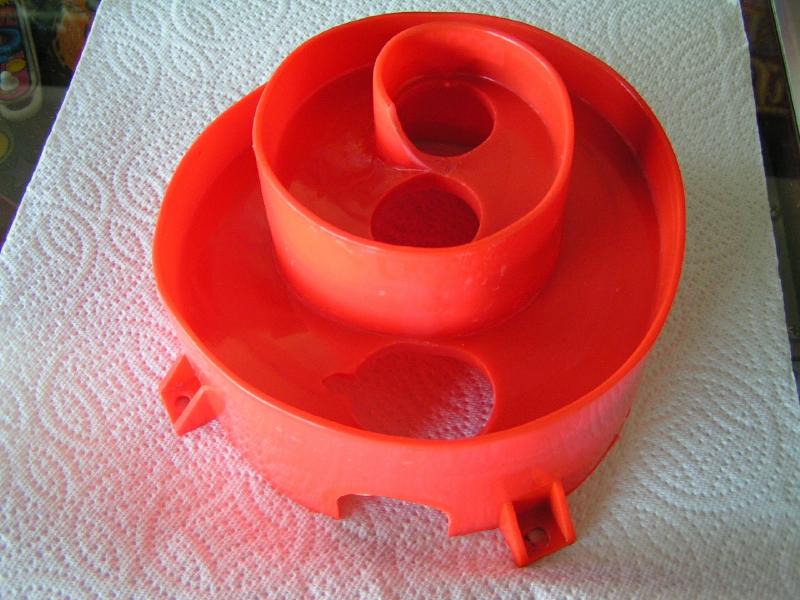
First, some flyers followed by Cliffy's repair for the red vortex that is often broken in a Pinbot game. I no longer have my Pinbot game due to selling it to free up some space, but I'm leaving this page here for others that may be interested in the vortex repair job by Cliffy. (click picture to enlarge)
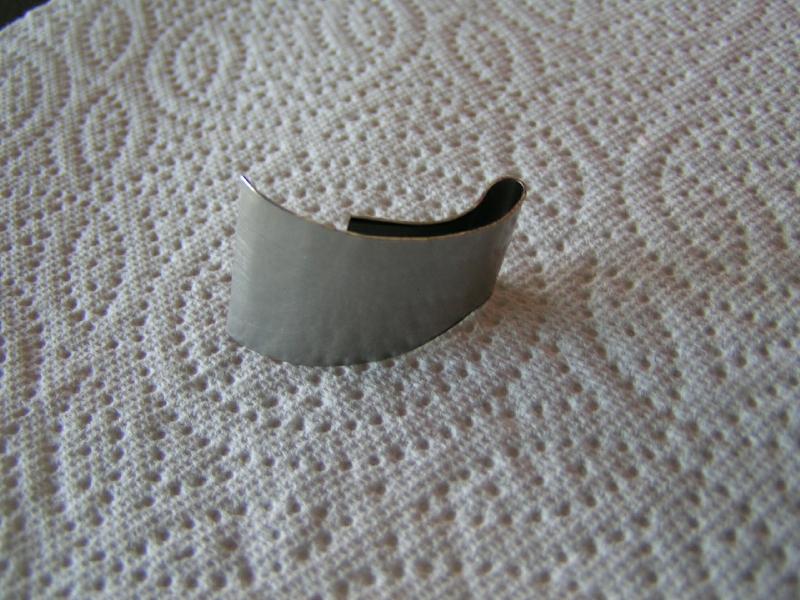
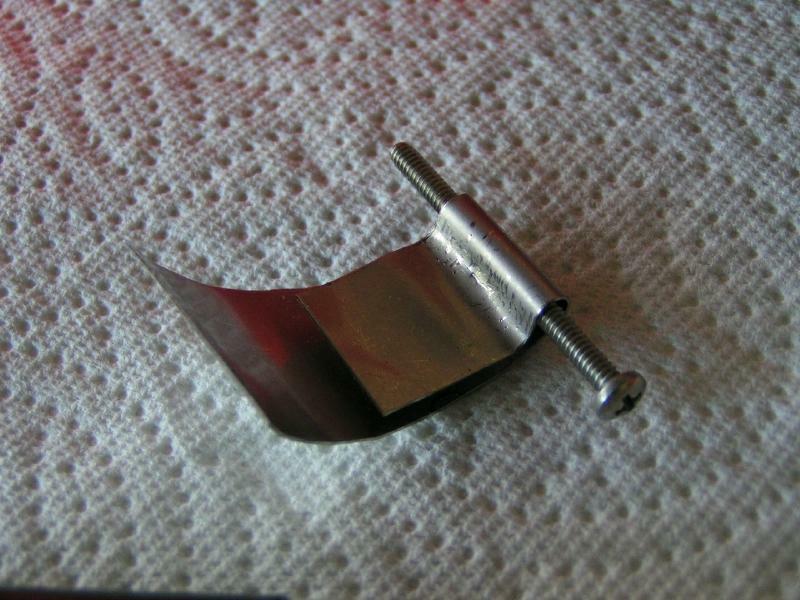
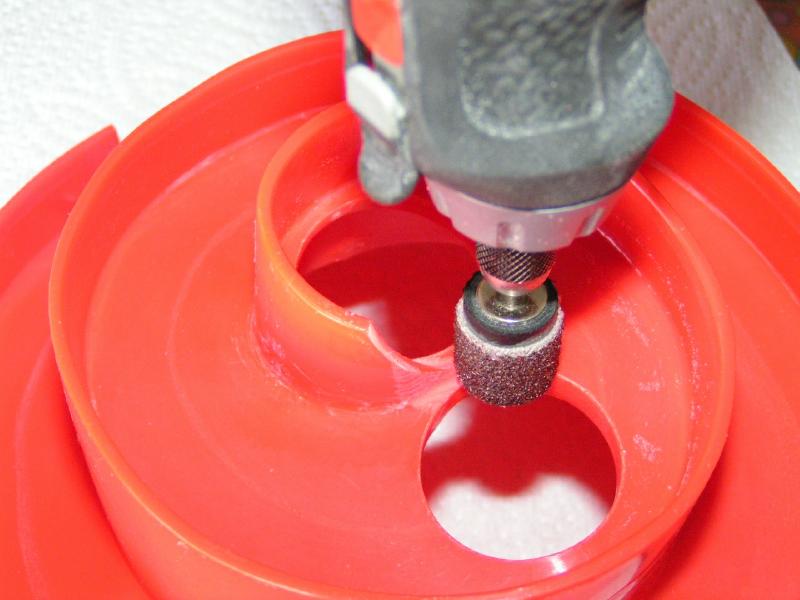
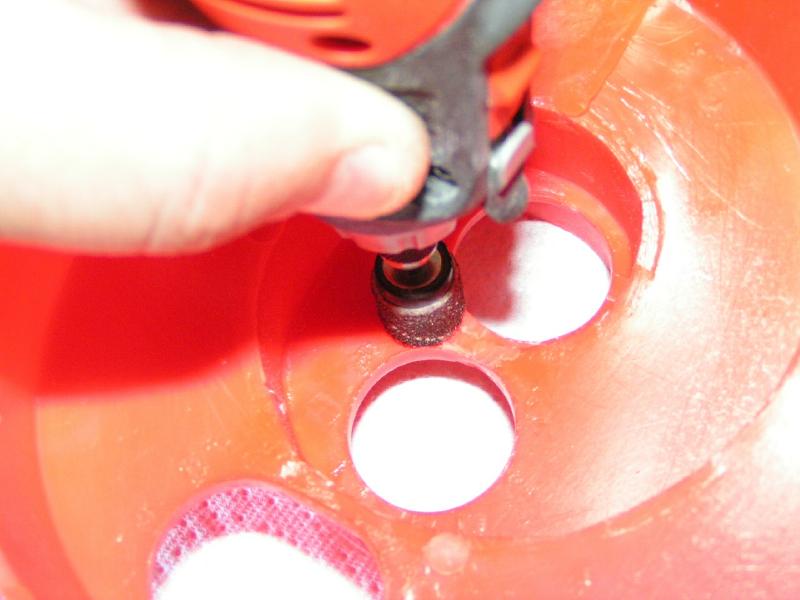
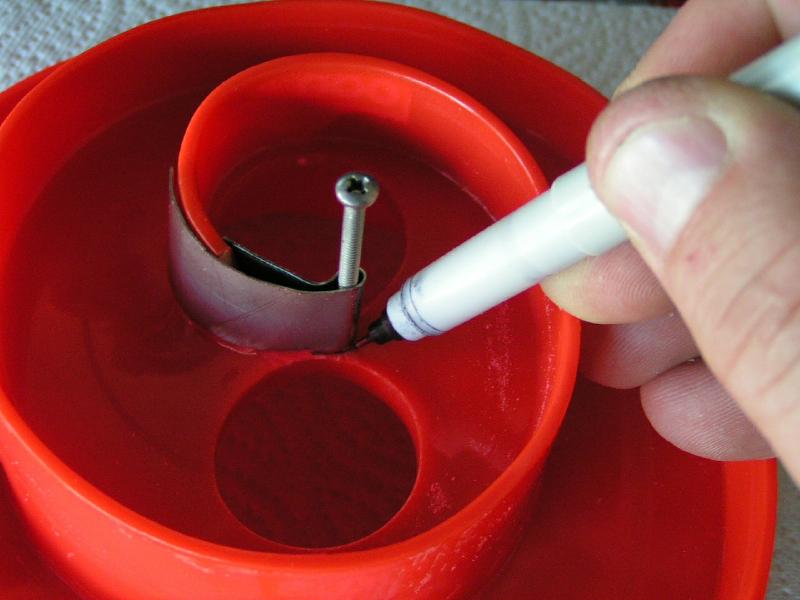
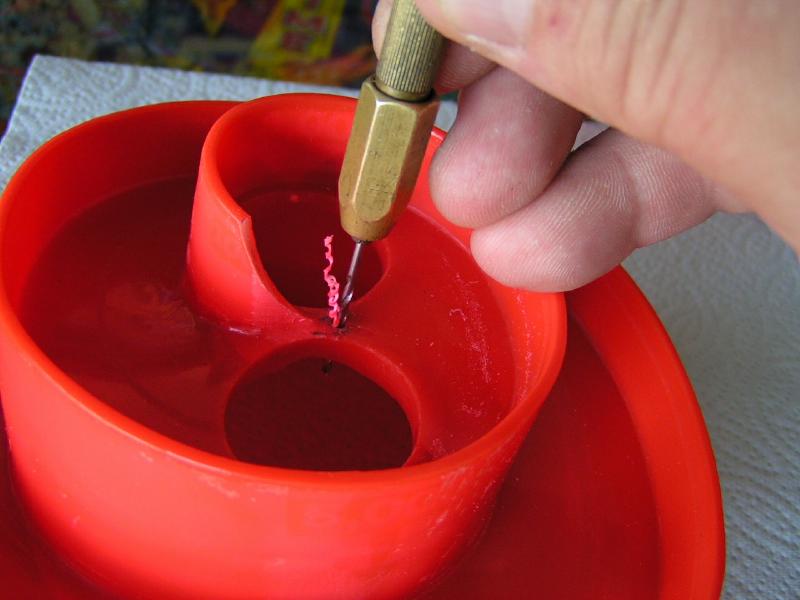
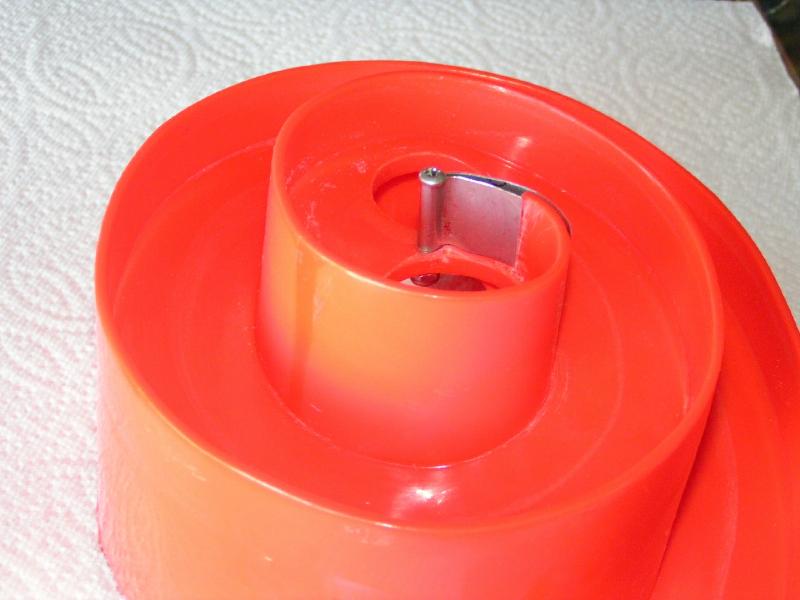
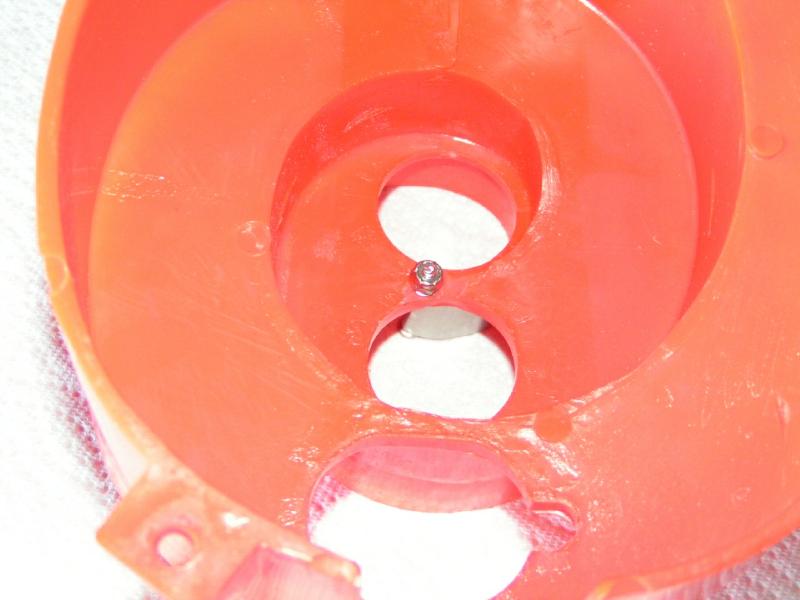
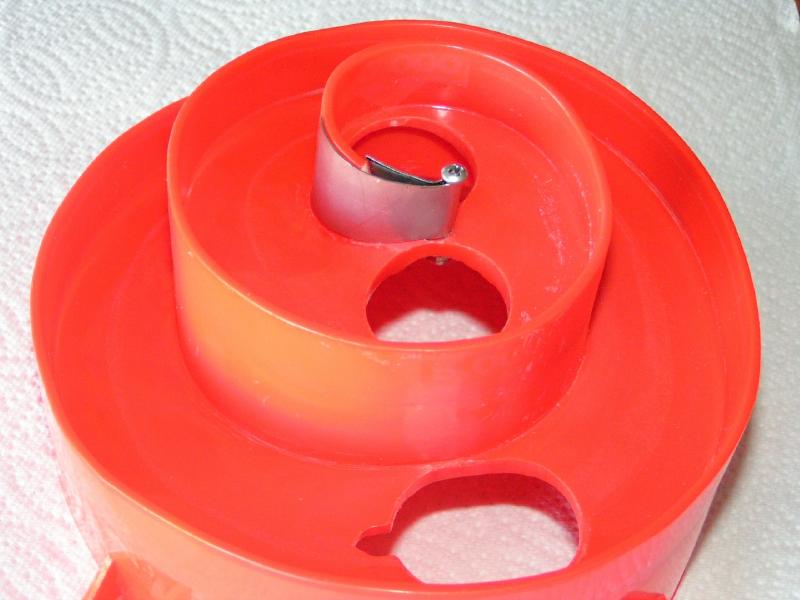
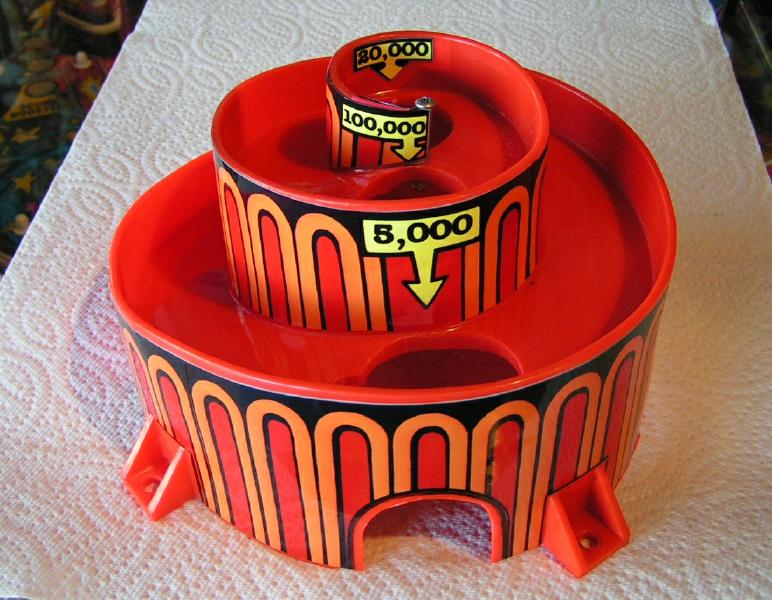
Broken Vortex RepairDoes your Pinbot have a black vortex at the upper right side of the game? This is probably because the original vortex was broken and someone used a Jackbot vortex (black) for replacing the original broken red vortex. The pictures below show the fix Cliffy used for fixing the red spiral vortex found at the top right of the game. The tip of the vortex is often broken and to repair this, Cliffy constructed a metal protector that is held in place with a screw and nut with epoxy putty or bondo used to fill the gap between the stainless repair. The screw Cliffy used has a 4-40 thread that is 1.5 inches long. Cliffy recommends that the fix not be applied to an unbroken vortex since the clearance between the pinball and the metal may be too tight. The pictures below are photos taken by Cliffy outlining his repair. Thanks to his hard work, we now have a way to repair this often broken piece of plastic. Be sure and check his website since he also shows other professional protectors he has created for a variety of games that are worn. I have an Attack From Mars protector and it looks great in the game and prevents further deterioration of the playfield.
|