|
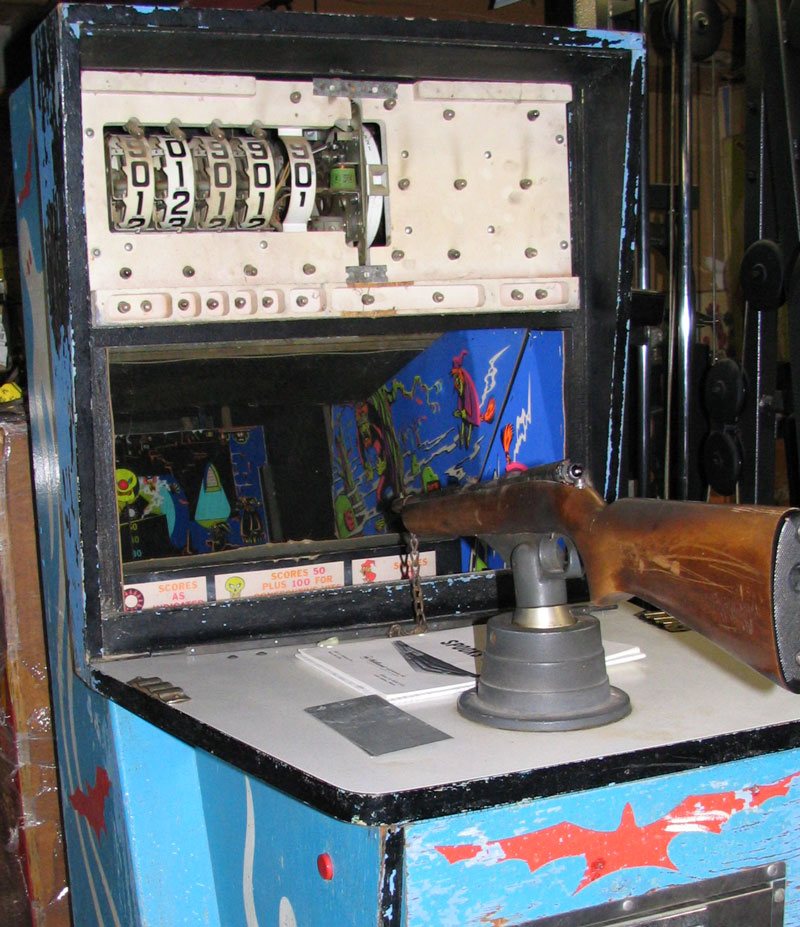
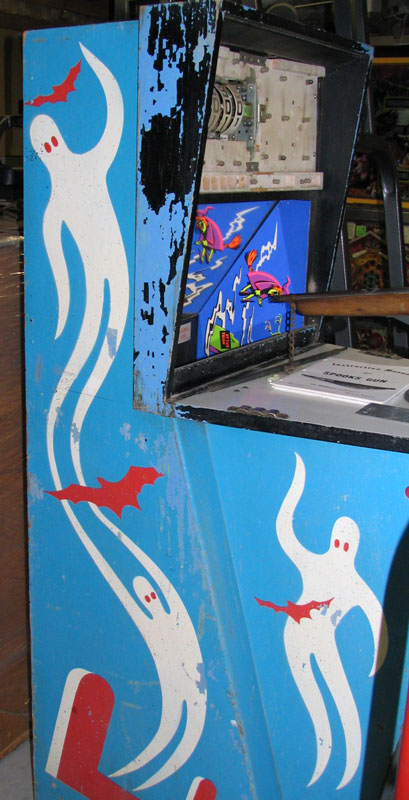
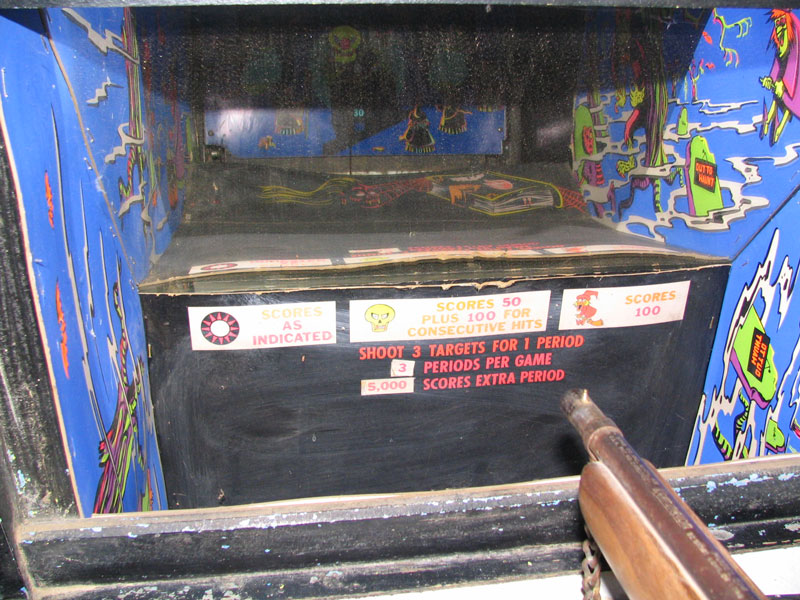
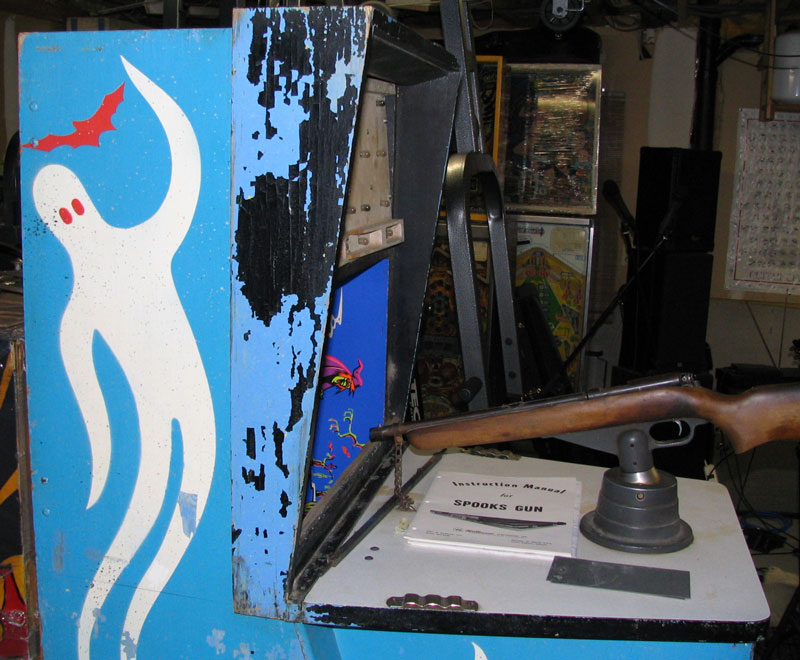
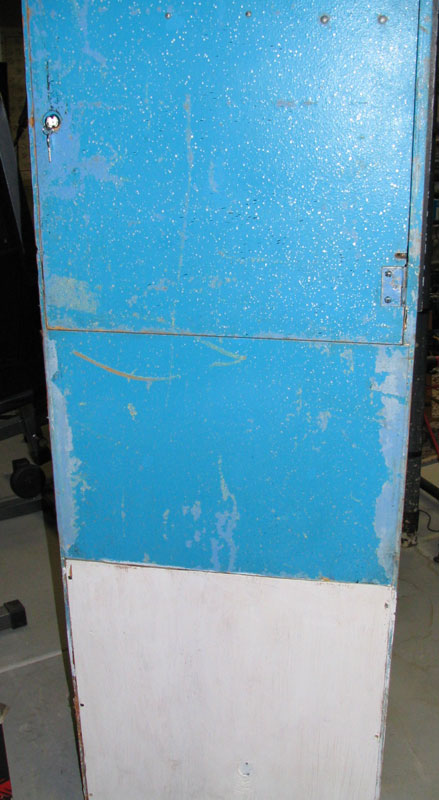
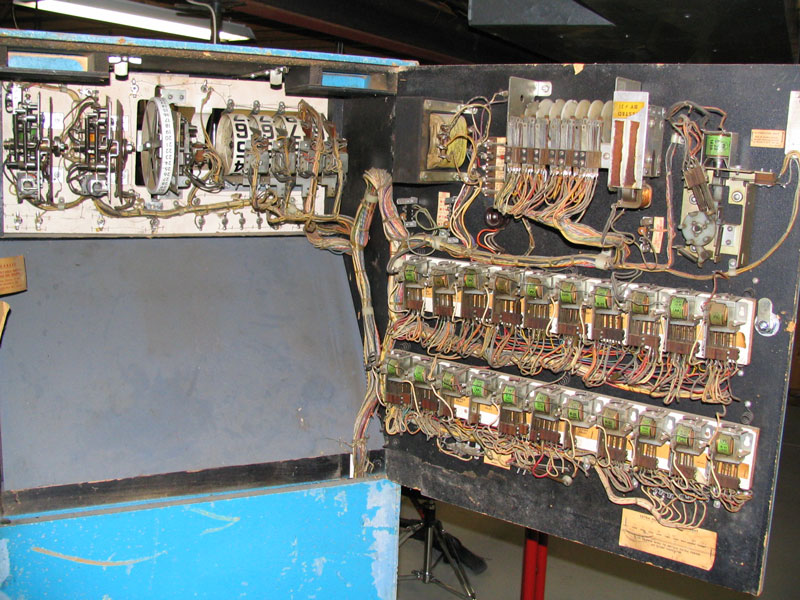
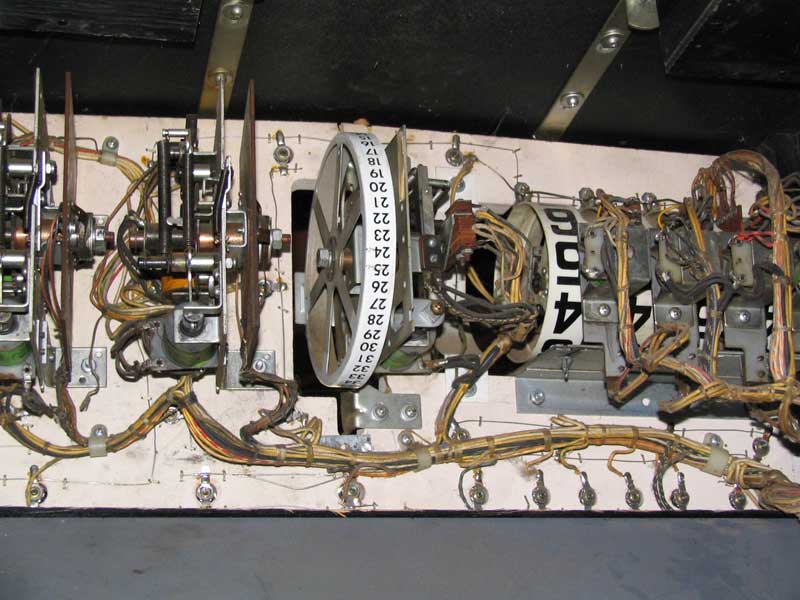
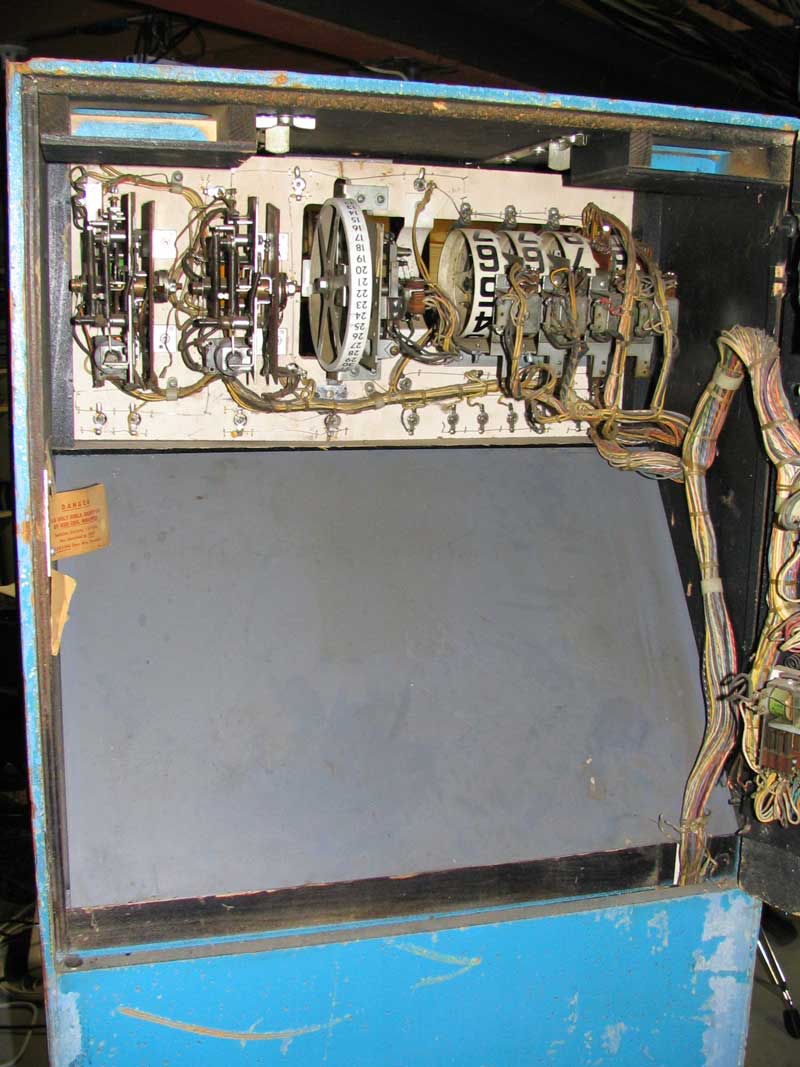
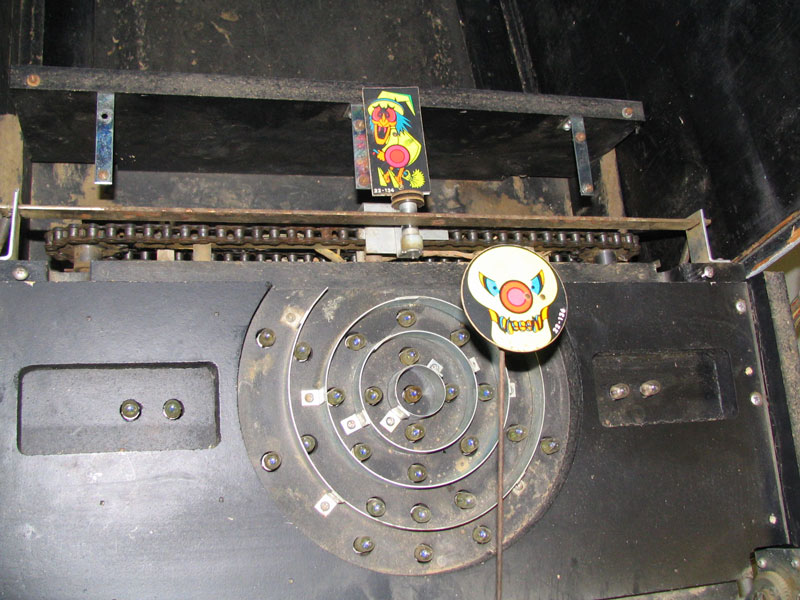
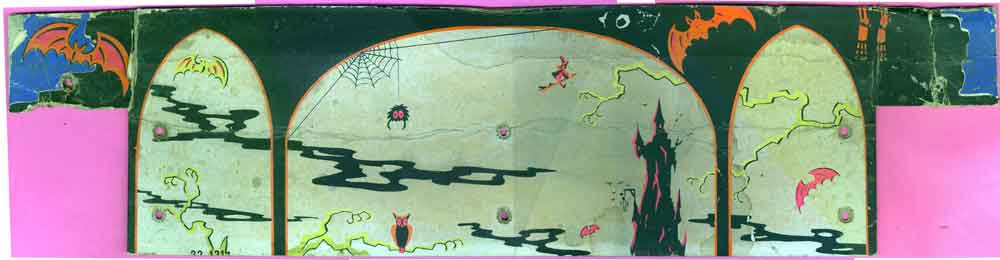
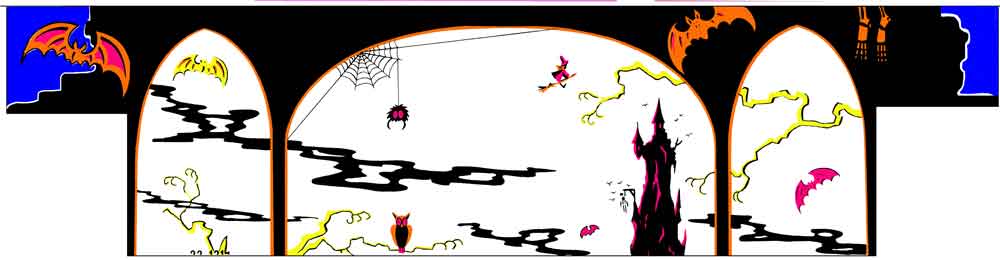
This page shows pictures and info (as I add it) of my 1969 Williams Spooks Rifle game that I got from my friends Carole and Kevin Carroll of Lyons Classic Pinball in Lyons, Colorado. They picked up the non-working game at a pretty good price with the idea of fixing it up. Lucky for me, they knew I was looking for a rifle game and they needed the space, so they simply gave it to me. Wow, can't go wrong with a deal like that. Of course, if I decide to sell it, they get first crack at getting it back, but first I have to get the game fixed up and running. I think it's going to take awhile to get the game working since it's an old (1969) EM rifle game and stuff is missing (plus it doesn't work). It has some missing cardboard backgrounds and some others that are stained and torn, so I plan to scan the cardboards, stitch the scans together when necessary, and then print the images on a large label paper and apply them to thick poster board. I'll paint the colored areas with either fluorescent paint or fluorescent markers similar to the originals. Better than having nothing or ripped up stuff, so we'll have to see how that works out. I'll show the details as I do them. I don't show the actual backglass in some of the game pictures because I removed it to patch up some flaking and scratched artwork. The backglass isn't bad though. Paint appears to really be shot on this game. Glossy black trim paint is flaking off rather easily and will need to be repainted after scraping off the paint that's already there. I plan to make stencils of the "spooks" and "bats" so that it will look quite a bit better. The paint is extremely faded and chipping quite a bit so I plan to repaint the whole cabinet. I'll probably use a latex enamel paint and roll it on, then apply the red and white stencil paints. One thing about this game is that it is extremely heavy! The specs on the game said it weighed 320 pounds and I believe it. Most of the pictures you see below are AFTER I cleaned the cabinet up with Bleche White to remove all the brown dirt and crud on the game. It did quite a good job at cleaning the game. I have some of the early "before" pics and I'll see if I can scour up a few of the original ones showing how dirty the game was. Still a good deal for when I get this game working. Can't beat free. First, here are some pictures of the game in its initial non-working state: (click picture to enlarge)
|